
Homemade Play-Dough Recipe
A quick and easy play-dough recipe the children will love. It has the best texture and can last for months when stored correctly.
This has been my go to homemade play-dough recipe for almost a decade now. Even though my children are old enough to know not to eat it, I still love how this play-dough is made form all natural ingredients I already have in the kitchen. Plus, the children love helping me make it now too.
ingredients and tools you’ll need
Equipment
- A pair of kitchen gloves will come in handy when kneading in the food colouring into the dough to keep your hands from getting colourful themselves. Once the colour is kneaded in, it won’t discolour any hands or surfaces.
- Baking paper or some type of non-stick surface to protect your kitchen bench from the food colouring. In the photos, I used a large zip lock bag as I had ran out of baking paper.
Ingredients
- 1 cup of flour
- 1 cup of water
- 2 tsp cream of tarter
- 1/3 cup salt
- 1 tbsp oil
- food colouring
To double or triple this recipe,
you can make adjustments in the recipe card at the bottom of this post.
how to make homemade Play-Dough
If you have little chefs who like helping out in the kitchen, this could be a good recipe for them to help you with.
step one: mix all but the food colouring together in a pot
To a small/medium pot, add the flour, water, cream of tarter, salt and oil and mix to combine.
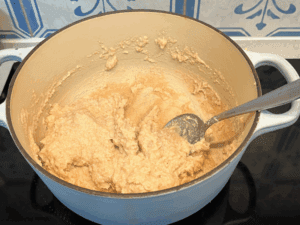
I used freshly milled wholegrain flour and Himalayan sea salt in my dough in the photos which makes the dough look pinky/brown. So don’t worry if your dough looks like a different colour to mine.

step two: cook over med/low heat whilst mixing
Put the pot over medium/low heat and continuously mix until the dough becomes a play-dough type consistency.

step three: place dough on bench to cool, then knead to smooth
Turn the dough out onto the bench. When it’s cool enough to handle, knead it a few times until smooth.

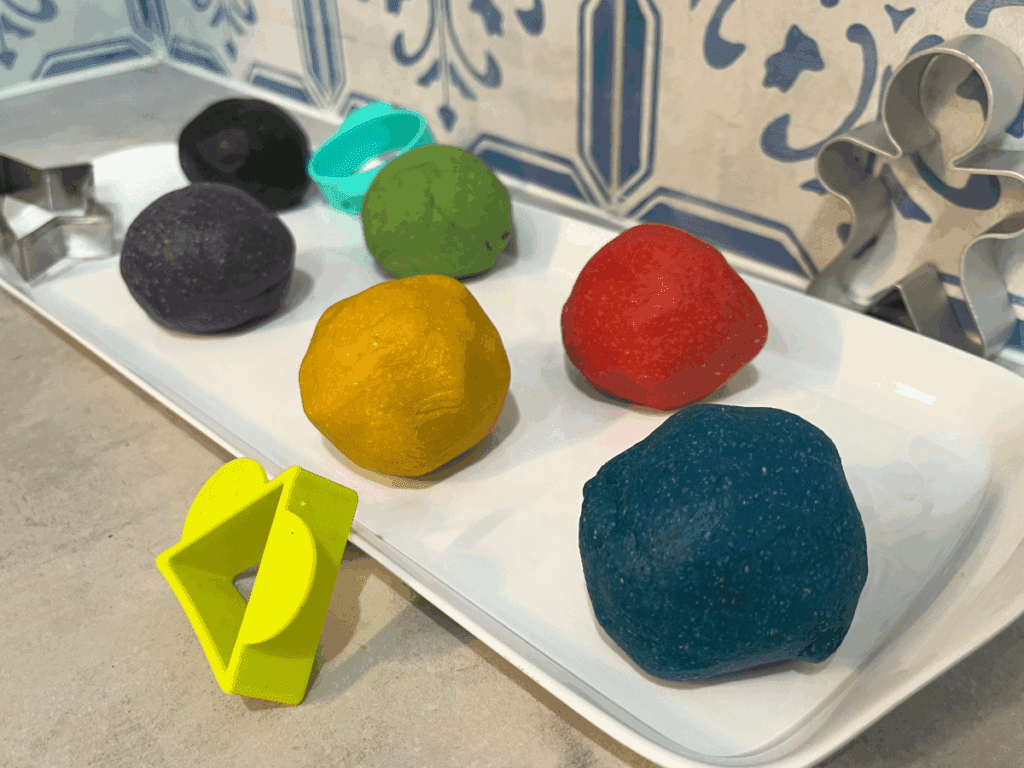
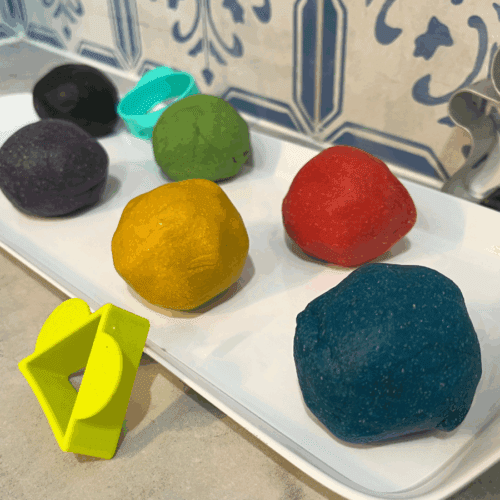
step four: divide the Play-Dough into 6 balls
Divide the dough into 6 balls, or into the number of colours you will be colouring the dough.

step five: add the food colouring and knead or squeeze to mix it in
Pop on you kitchen gloves and pop the dough onto some baking paper. Add a few drops of food colouring to each ball, knead or squeeze until the colour is well mixed through. I’m using a large zip lock bag instead of baking paper in the photo as I had ran out, it did the job!

homemade Play-Dough storage instructions
Wrap each individual ball in some cling wrap and store them all together in an airtight container. These can last for months when stored properly.
questions & troubleshooting
What kind of flour should I use?
I’ve only ever used plain wheat flour for this recipe, but I’d assume self raising flour should work just as well. If you give SR flour a go or any other types of flour, please let me know how it goes in the comments!
Where do you get the food colouring from?
The Queens food colouring I got from Coles and the other food colouring in little tubs I got from Spotlight. I like to use a toothpick to dip into the tubs of food colouring and apply to the dough.
How much food colouring should I add?
It greatly depends on the brand of the food colouring and the colour. I suggest starting with a small bit, mix it in, then add more until you get a nice vivid colour.
printable recipe
Homemade Play-Dough Recipe
Equipment
- 1 Pair of kitchen gloves
- 1 Baking paper
Ingredients
- 1 Cup Flour
- 1 Cup Water
- 2 Tsp Cream of Tarter
- 1/3 Cup Salt
- 1 Tbsp Oil
- Food Colouring
Instructions
- Mix the first 5 ingredients together in a pot (all but the food colouring).
- Cook on medium/low heat stirring until it becomes a play-dough like consistency.
- Turn the dough out on some baking paper. When it's cool enough to handle, knead it a few times until smooth.
- Divide the dough into 6 balls, or into the number of colours you will be colouring the dough.
- Pop on you kitchen gloves and add a few drops of food colouring to each ball, knead until the colour is well mixed through.
- Wrap each ball in cling wrap and store in an airtight container. These can last for months when stored properly.